A Beginner’s Guide to Baking Bread at Home
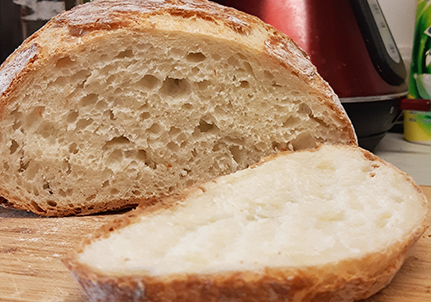
This spring many of us have turned to baking fresh bread at home as a new hobby. Bread making is a great way to take up some spare time and make something with your hands, plus you get a tasty end product - things that all of us need right now.

Looking to add bread making to your repertoire? We’ve got you covered. Consider using a no knead recipe which is a more forgiving technique and a great starting place for beginners. Wheat breads are held together with gluten, and in order for that gluten to form two of the following three factors are needed: time, hydration, and/or agitation (in the form of kneading). No-knead recipes have very high hydration (they make wet doughs) and long proof times (up to 12 hours) which means you don’t need to knead.
Kneading aside, another perk of our favorite bread recipe is that it doesn’t call for a lot of yeast (½ a teaspoon in our case, for a large family-sized loaf). So, if you’ve decided to make bread on a whim and don’t have a lot of flour or yeast in your pantry, that doesn’t mean you’ve got to head to your grocery store.
In contrast to trendy sourdough bread preparations, this style of bread has a less tangy flavour and no pesky starter that you have to tend and make space for on your counter or in the fridge. It also only needs a light ‘turn’ to shape, no tiring kneading and punching down is necessary. Great for people who have arthritis, carpal tunnel or are simply confused by the whole ‘punching dough’ process.
Plus, with an 8-12 hour proofing schedule you can easily fit making this bread into your day. When we are working from home we proof overnight and bake in the morning for perfect bread by lunch. When we are headed into the office, we can bake before bed so the bread is cooled and ready for the next morning.
Check out the recipe that we have been using from Glen & Friends Cooking below, and start your bread baking journey.

Rustic No-Knead Bread
Ingredients:
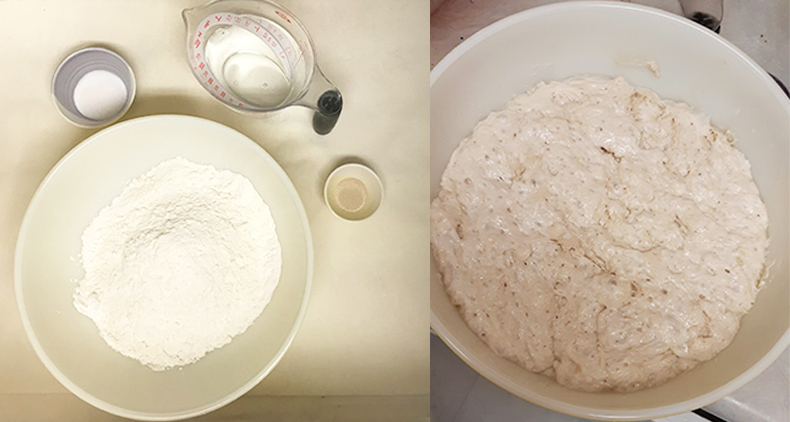
- 3½ cups (875 mL) all-purpose flour
- 1½ tsp (7 mL) coarse salt
- ½ tsp (2 mL) instant yeast
- 1¾ cups+ (450 mL+) cold water
Method:
- In a large bowl, combine the flour, salt, and yeast.
- Add the water and mix with a fork until the flour is moistened, and forms a ragged dough mass.
- Cover and let rest 8 to 12 hours on the counter at room temp.
- Preheat the oven to 450°F (225°C).
- Place a Dutch oven or heavy pot with a lid in the oven to preheat.
- An hour before baking; fold the dough in on itself 6 - 12 times. Grab the edge, pull up and fold over; turn the bowl a bit and then repeat.
- Sprinkle some flour in a second bowl, transfer the dough and coat with flour.
- Re-cover and let rest for about 45 minutes.
- Drop the dough into the preheated Dutch oven, cover, and cook 30 minutes.
- Remove the cover and cook for another 20 - 30 minutes.
- Bread is cooked when the internal temp reaches 190ºF.

Top Tips for a Perfect Loaf
- Add your water gradually. Once the dough comes together and starts looking like biscuit dough, go one step further with the water for a nice moist dough.
- If you feel your kitchen gets too cold overnight for your dough to proof, slip it into your oven (turned off!) to give it a boost.
- A cast-iron Dutch oven is best for baking in but any pot with a lid that you’d make stew, pasta sauce or pot roast in will work.
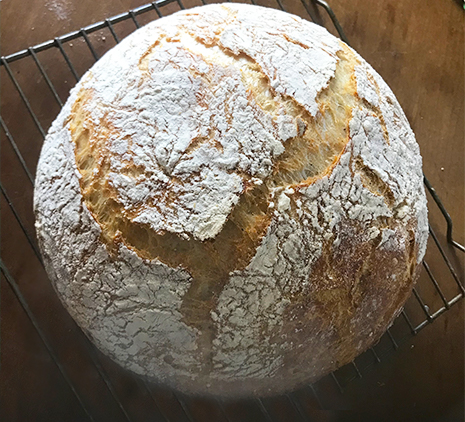
- If your first loaf is too crusty for your taste, take the lid off the pot earlier in the baking process. It’s counter-intuitive, but the early steam in the closed pot is what gives your loaf it's rustic crunch.
Bread is a great way to get messy and create something delicious in your kitchen. Have fun baking your bread babies!
)

